Amplifier2.xml
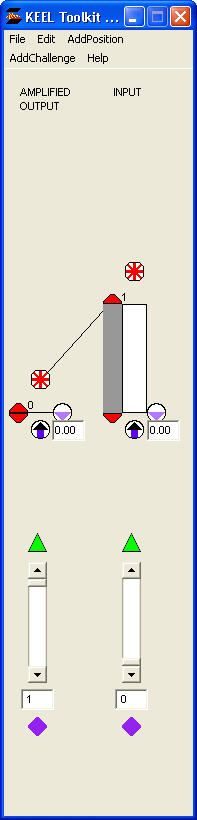
In this example, we are showing the impact of one Position (of lesser importance) "INPUT" driving the importance of another Position ("AMPLIFIED OUTPUT").
We are using one of the clipper characteristics to perform this task.
In this case, we have fixed the importance of the "INPUT" position to be 50. We have set the clipper to run across the entire range of the "INPUT".
We are using the output from the clipper of the "INPUT" position to drive the importance of the "AMPLIFIED OUTPUT" position.
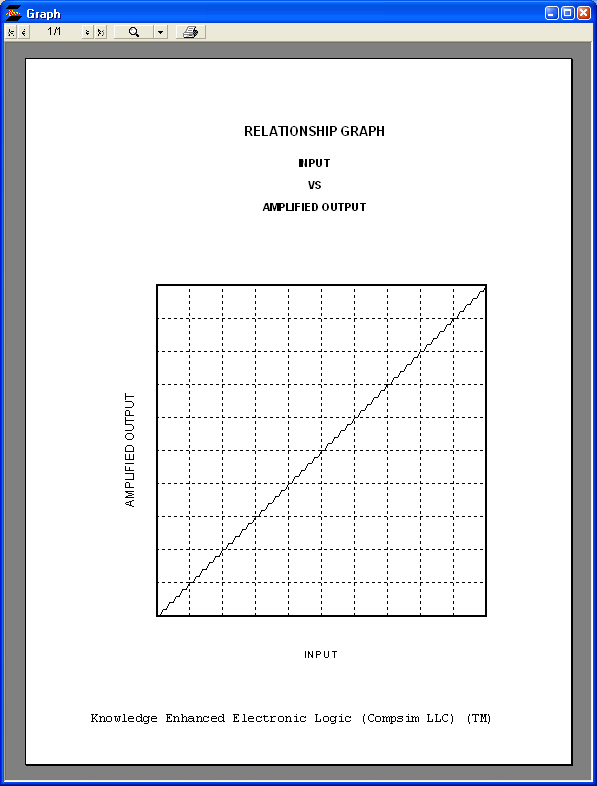
When a clipper is being used to drive the importance of another position, it provides an output signal that ranges from 0 to 100 as the input to the clipper runs from the low to upper end. Since, in this case, the clipper covers the entire range of the "INPUT" position, as the Supporting Argument to "INPUT" increases from 0 to 100, it will drive the importance of the "AMPLIFIED OUTPUT" to 100%.
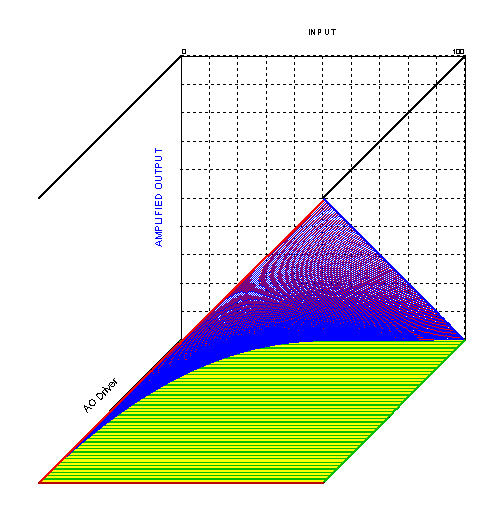
The key point of this design is that the Modified Value of the "INPUT" is limited to the importance of the importance of the "INPUT" position (50 in this case). This means that the Modified Value of the "Input" can range from 0 to 50, while the Modified Value of the "AMPLIFIED OUTPUT" can range from 0 to 100.
NOTE: If the lower clipper was raised above 0 (to 20, for example), then the "AMPLIFIED OUTPUT" would still range between 0 and 100, but it would be delayed until the Modified Value of the "INPUT" was raised above 20 before impacting the importance of the "AMPLIFIED OUTPUT".
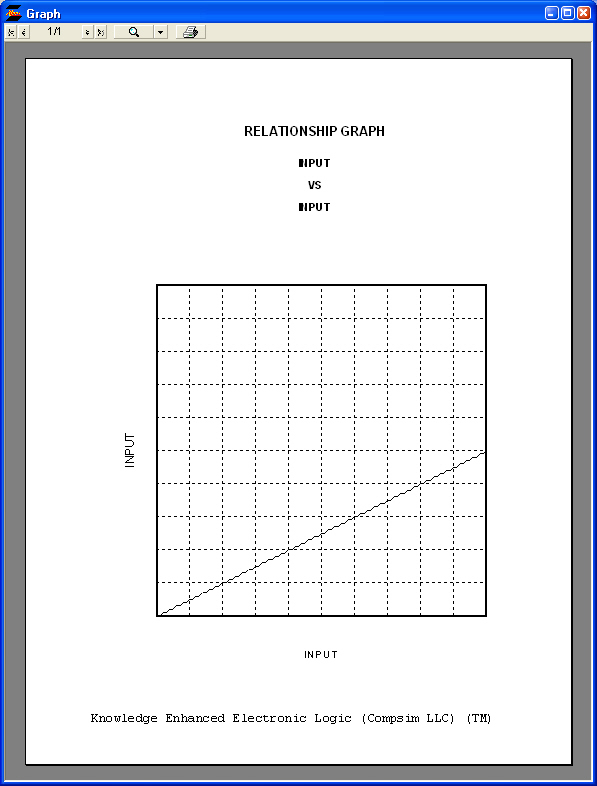
Observe the input graph that shows the Modified Value of the "INPUT" based on the "INPUT" Supporting Argument. The output graph shows the impact on the Modified Value of the "AMPLIFIED OUTPUT" with its own Supporting Argument fixed at 100. If this was a static design, this input could be a "Bias".